Giving your car a fresh coat of paint does not have to cost a fortune. With the right tools and a little patience, you can achieve great results at home. This guide walks you through the entire process, from gathering supplies to applying the final coat. Whether you are a first-timer or someone looking to refine their skills, these car painting tips will help you get the job done right.
Why DIY Auto Painting Makes Sense
Professional car painting can cost thousands of dollars. However, doing it yourself can cut that cost by more than half. A basic spray gun setup, some quality automotive paint, and a weekend of your time are all you really need. Additionally, painting your own car gives you full control over the color, finish, and quality of the work.
DIY auto painting is also a great skill to develop. Once you learn the basics, you can touch up scratches, repaint panels, or tackle a full respray on your own terms.
What You Will Need
Before you start, gather all your supplies. Running out of materials mid-project can ruin the finish.
- A spray gun (HVLP type is ideal for beginners)
- Automotive primer
- Automotive base coat paint
- Clear coat
- Sandpaper (400, 800, and 1200 grit)
- Masking tape and plastic sheeting
- Wax and grease remover
- Safety goggles, gloves, and a respirator mask
- An air compressor (if using an air-powered spray gun)
You can find most of these items at your local auto parts store or online. Therefore, budgeting around $150 to $300 for a complete beginner setup is reasonable.
Step 1: Choose the Right Workspace
Your environment matters more than you might think. Paint needs a clean, dust-free area to adhere properly. If possible, work inside a garage with good ventilation. Outdoor spaces work too, but avoid windy or dusty conditions.
Make sure the temperature is between 60°F and 80°F. Humidity should be below 60 percent. Paint applied in extreme cold or heat will not cure properly. Additionally, keep a tarp or drop cloth on the floor to catch any overspray.
Step 2: Prepare the Car Surface
Surface preparation is the most important part of the process. A poor prep job will show through even the best paint.
Start by washing the entire car with soap and water. Then wipe it down with a wax and grease remover. This step ensures that no oils or residues are left behind. Next, use 400-grit sandpaper to scuff the existing paint. You are not trying to sand it all off. You just want to roughen it up so the primer sticks better.
After sanding, wipe the surface clean again. Use masking tape and plastic sheeting to cover windows, trim, lights, and tires. Take your time here. Neat masking leads to clean, sharp lines in the final result.
Step 3: Apply Primer
Primer is the foundation of a good paint job. It fills in small scratches and gives the paint something to bond to. Choose a gray or white automotive primer depending on your paint color.
Pour the primer into your spray gun and thin it according to the manufacturer’s instructions. Hold the gun about 6 to 8 inches from the surface. Use smooth, overlapping passes to apply an even coat. Do not rush this step.
Apply two to three coats of primer. Let each coat dry for about 20 to 30 minutes before applying the next. Once the final coat is dry, wet-sand the entire surface with 800-grit sandpaper. This creates a perfectly smooth base for the color coat.
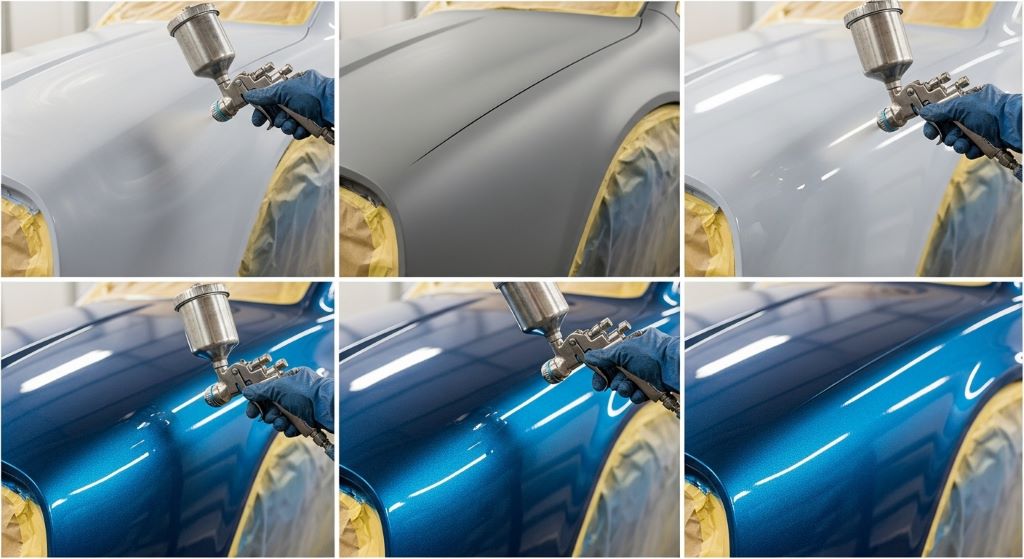
Step 4: Follow the Spray Gun Guide for Color Coats
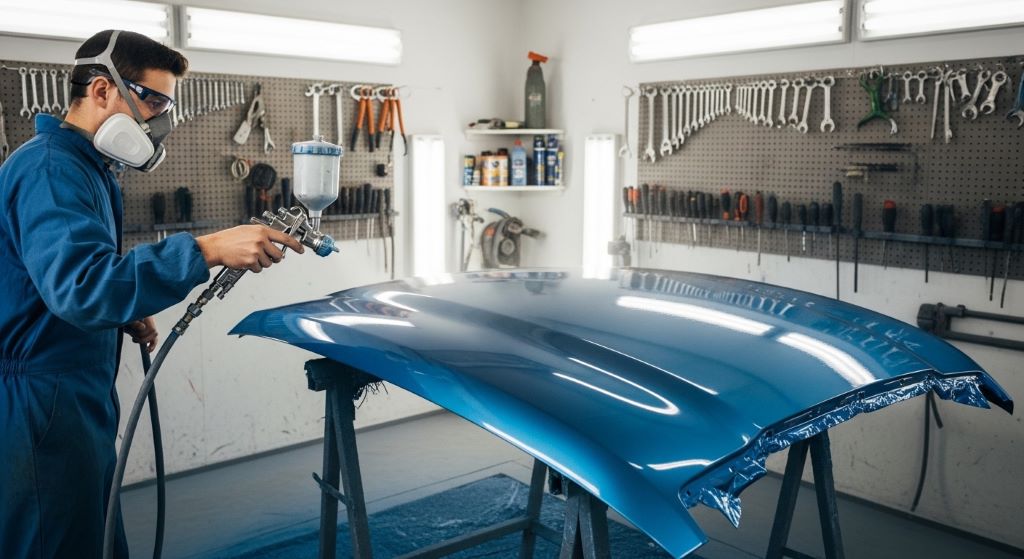
Now comes the exciting part. Pour your base coat paint into the spray gun. Thin it as directed on the label. A proper spray gun guide technique involves holding the gun at a consistent distance and moving at a steady pace. Overlap each pass by about 50 percent to avoid streaks.
Apply the first color coat lightly. This is called a tack coat. It helps the next coats stick without running. Wait about 15 minutes, then apply two to three full coats. Let each coat flash off — meaning, wait until it is no longer shiny wet — before applying the next one.
Keep the gun moving at all times. Stopping mid-pass will cause the paint to drip. Also, maintain a consistent angle. Tilting the gun too much will create uneven coverage.
Step 5: Apply the Clear Coat
The clear coat protects the paint and gives it that glossy shine. Apply it using the same technique as the base coat. Two to three coats are usually enough.
However, allow the base coat to dry fully before applying the clear coat. Rushing this step can cause the colors to mix and the finish to look cloudy. Once the clear coat is on, let it cure for at least 24 hours before removing the masking tape.
Step 6: Wet-Sand and Polish
After the clear coat has cured, wet-sand the surface with 1200-grit sandpaper. Use light, circular motions and keep the surface wet. This removes any orange peel texture or dust nibs.
Once sanded, apply automotive polish with a foam applicator or polishing machine. Work in small sections. The polish will remove the sanding marks and bring out a deep, mirror-like shine.
Finally, apply a coat of automotive wax. This protects the finish and keeps your car looking great for longer.
Conclusion
Painting a car on a budget is absolutely possible when you follow the right steps. Start with a clean, well-prepped surface. Use quality primer and paint. Apply your coats steadily using proper spray gun techniques. Finish with clear coat, sanding, and polish. Each step builds on the last, so patience really does pay off.
With these car painting tips in mind, you have everything you need to get started. The results may surprise you. A smooth, even, professional-looking finish is within reach — no expensive body shop required.
Frequently Asked Questions
What type of spray gun is best for beginners?
An HVLP (High Volume Low Pressure) spray gun is the best choice for beginners. It produces less overspray, uses paint more efficiently, and gives you better control over the finish.
How much paint do I need to paint a full car?
For a full car repaint, you will typically need about one quart of base coat per panel. A full car usually requires one to two gallons of base coat and one to two gallons of clear coat.
Do I need to remove the old paint before repainting?
Not always. If the old paint is in good condition with no peeling or rust, you can sand it lightly and paint over it. However, if there is rust or flaking, you should strip the old paint first for the best results.
How long does a DIY car paint job last?
A well-done DIY paint job using quality materials can last five to ten years. Proper clear coat application and regular waxing will extend the life of the finish significantly.
Can I paint a car outside without a spray booth?
Yes, you can paint outside if conditions are right. Choose a calm, dry day with no wind or direct sunlight. Avoid dusty areas. A shaded location with good airflow works well as a makeshift spray area.
Related Topics:
Essential Motorhome Repairs And Maintenance Guide
How to Properly Wash and Wax Your Car for a Lasting Shine