
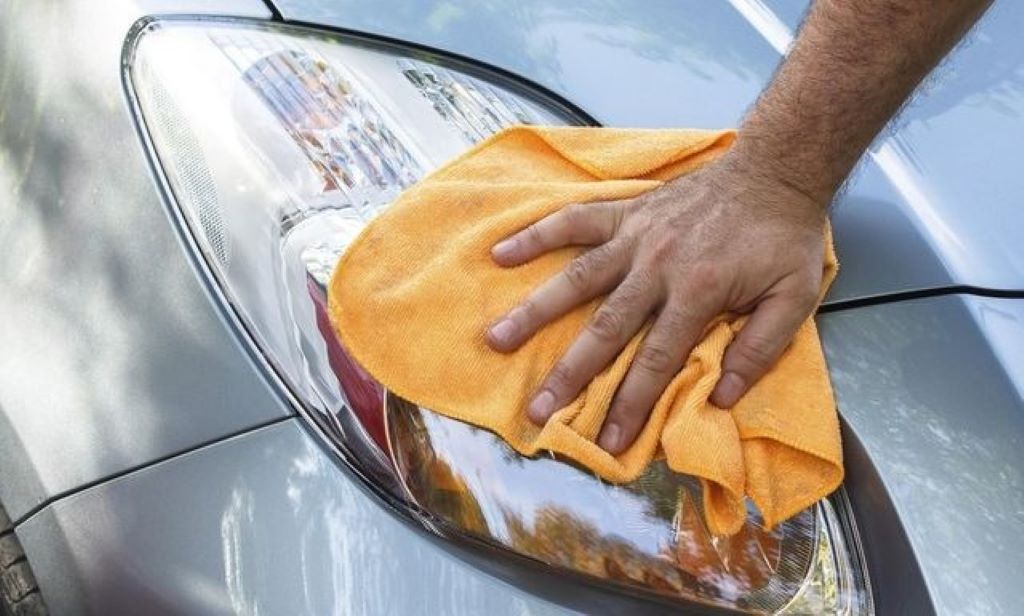
A car is more than just a vehicle, it’s a rolling reflection of your lifestyle. Yet, many drivers overlook the power of a clean, waxed surface. Knowing how to properly wash and wax your car for a lasting shine not only enhances its appearance but also protects it from environmental damage and preserves its resale value. In this comprehensive guide, we’ll break down each step with detail, precision, and proven methods to help your car stay gleaming longer.
Why Regular Washing and Waxing Matters
According to a study by the International Carwash Association, over 66% of car owners admit they don’t wash their vehicles regularly. This neglect can lead to paint degradation, corrosion, and fading due to road salts, UV rays, and pollutants.
Experts from Popular Mechanics emphasize that dirt left untreated will act like sandpaper. It grinds into your clear coat, dulling the paint over time. Waxing, on the other hand, acts as a barrier against those contaminants.
Not only does regular care maintain aesthetics, but it also pays off. Kelley Blue Book highlights that well-maintained exteriors can add up to 15% to your car’s resale value.
The Right Tools Make All the Difference
Before diving into the process, gather your materials. The right tools prevent scratches and promote even application.
Must-Have Car Wash Essentials:
- Two buckets (one for soapy water, one for rinsing)
- pH-balanced car shampoo (never dish soap!)
- Microfiber wash mitts and drying towels
- Clay bar for decontamination
- High-quality car wax (paste or liquid)
- Foam applicator pads and orbital buffer (optional)
Avoid cheap sponges or bath towels—they trap grit and can mar the paint.
Step-by-Step: How to Properly Wash Your Car
Step 1: Start With a Rinse
Always begin with a high-pressure rinse to remove loose debris. Focus on wheel wells and undercarriage areas prone to mud and road grime.
Step 2: The Two-Bucket Method
Fill one bucket with soapy water and another with clean water for rinsing your mitt. This method reduces swirl marks and extends the life of your wash tools. Work from the top down in straight lines—not circles—to avoid micro-scratches.
According to AutoGeek, this method reduces the risk of paint damage by 80% compared to traditional one-bucket washing.
Step 3: Clean the Wheels Separately
Use a separate mitt and dedicated wheel cleaner. Brake dust is highly corrosive and shouldn’t mix with your car’s paintwork.
Step 4: Rinse and Dry Thoroughly
Use a microfiber drying towel or a car-specific air blower to prevent water spots. Don’t let the car air dry, as minerals in water can etch into the paint.
Decontamination: The Overlooked Step
Even after washing, tiny particles remain embedded in your paint. Use a clay bar and lubricant to remove contaminants like tree sap, brake dust, and industrial fallout.
Run your fingers over the paint. If it feels rough, claying is necessary. Skipping this step leads to wax sealing in dirt, undermining its protective qualities.
How to Wax Your Car the Right Way
Now comes the critical part: waxing. Wax doesn’t just make your car shine—it adds a sacrificial layer against UV rays, acid rain, and oxidation.
Step 1: Choose the Right Wax
There are three common types:
- Carnauba Wax: Natural and provides a warm glow; best for darker paint.
- Synthetic Wax: Longer-lasting but can lack the same depth of shine.
- Spray Wax: Quick application but shorter lifespan.
Each has trade-offs. For long-lasting protection, many professionals lean toward synthetic waxes like Meguiar’s Ultimate Wax.
Step 2: Apply Wax Evenly
Use a foam applicator to apply a thin layer in small circular motions. Work in shaded areas to prevent premature drying.
Step 3: Let It Cure and Buff Off
Follow the manufacturer’s instructions on curing time—usually 5 to 10 minutes. Use a clean microfiber towel to buff off the haze, revealing a high-gloss finish.
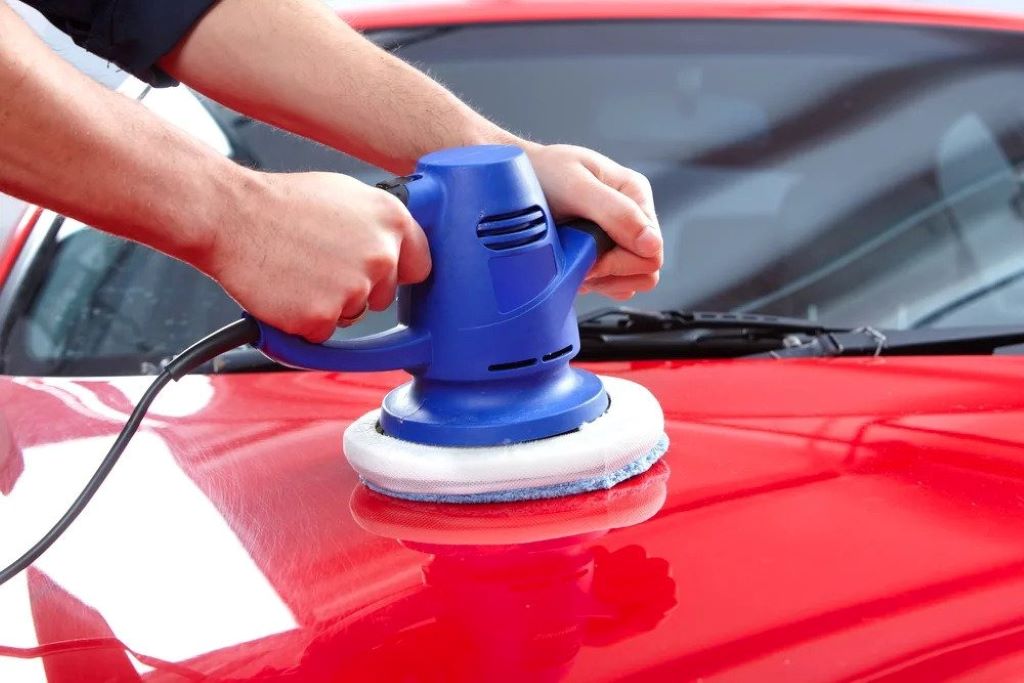
Step 4: Optional—Use a Dual-Action Polisher
This tool ensures even distribution and saves time. It also boosts the final gloss factor dramatically.
Frequency: How Often Should You Wash and Wax?
Washing should occur every 1–2 weeks, depending on driving conditions. Waxing, however, can be done every 2–3 months.
Clay and wax at the beginning of each season for optimal year-round protection.
Additional Tips for a Mirror-Like Finish
- Avoid automatic car washes: The stiff brushes can scratch paint.
- Don’t wash in direct sunlight: Water and soap dry too quickly, causing streaks.
- Always use clean towels: Dirty or reused towels can scratch the clear coat.
Expert Opinions Back It Up
Detailing professionals like Larry Kosilla of AMMO NYC emphasize a layered protection approach. He recommends not only wax but also ceramic coatings for higher durability.
On the flip side, some argue that frequent waxing is overkill. However, Consumer Reports tested multiple waxes and concluded that even affordable options significantly extended paint life.
Real-World Example
A 2020 Subaru Outback owner in Ohio detailed their vehicle every 8 weeks using a synthetic wax. Three years later, despite snowy winters and salted roads, the paint remained flawless. Regular washing and waxing outperformed nearby cars of the same model that had visible fading and etching.
FAQs
- Can I use dish soap to wash my car?
No. Dish soap strips protective wax and dries out paint. Use pH-neutral car shampoo instead. - How long does wax last on a car?
Synthetic wax can last up to 6 months. Carnauba typically lasts 6–8 weeks depending on conditions. - What’s better—wax or ceramic coating?
Ceramic coatings offer longer protection (1–2 years), but they’re pricier. Wax is ideal for DIY maintenance. - Can I wax my car too often?
While not harmful, over-waxing wastes product. Every 2–3 months is sufficient for most drivers. - Is claying necessary before waxing?
Yes. Claying removes embedded contaminants that washing misses, ensuring wax bonds properly. - How can I prevent swirl marks?
Use the two-bucket wash method, clean mitts, and dry with microfiber towels only. - Can I wax in cold or hot weather?
Avoid extremes. Ideal temperature is between 60°F and 80°F in a shaded area for best results.
Final Thought
Learning how to properly wash and wax your car for a lasting shine is more than a weekend chore—it’s an investment in your vehicle’s longevity and beauty. With the right tools, methods, and consistency, your car can maintain showroom shine for years. Whether you’re a weekend warrior or a daily driver, these techniques empower you to take control of your vehicle’s appearance. When your car gleams, it’s not just turning heads—it’s telling a story of care, pride, and precision.
Read More:
Motorhome Buying And Selling Tips | Smart RV Market Advice