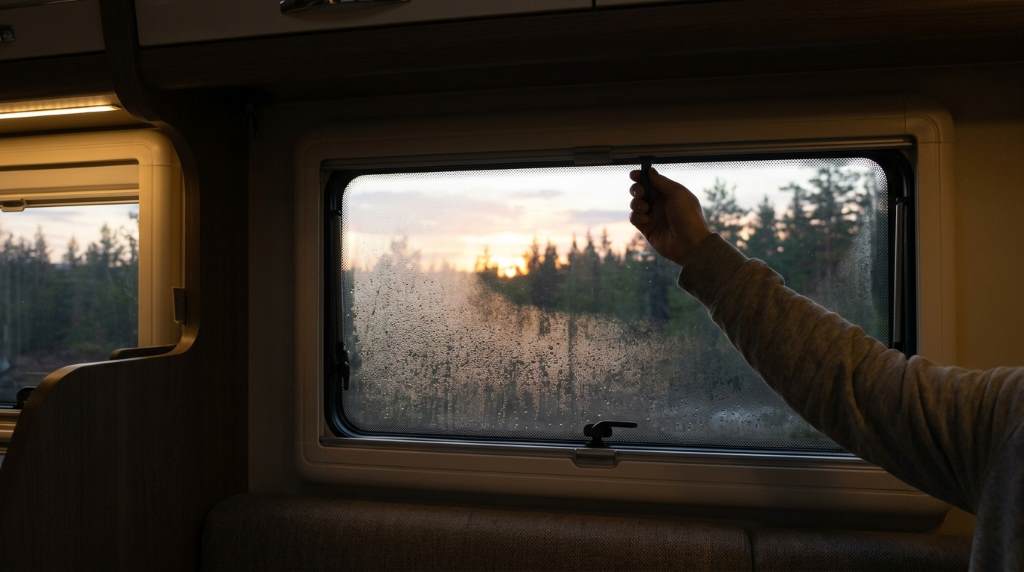
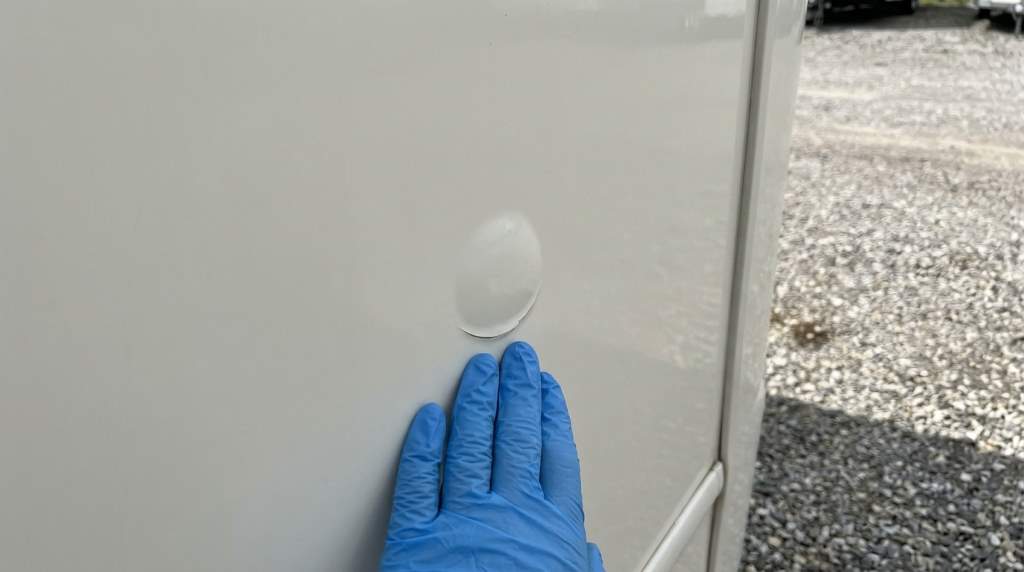
A damaged motorhome wall can quickly reduce both appearance and long term value if ignored. Small delamination patches often spread because trapped moisture weakens the bond between fiberglass and the backing material. According to industry estimates, water damage affects thousands of recreational vehicles every year across the USA. Furthermore, repair costs increase significantly when early warning signs remain untreated, making prompt maintenance one of the smartest investments for every motorhome owner.
Understand Motorhome Exterior Delamination Before Starting Repairs
Exterior delamination happens when the fiberglass skin separates from the underlying wall because adhesive loses strength. Moisture intrusion remains the most common cause behind this structural issue.
Before beginning repairs, learn how moisture affects recreational vehicles by reading handle accidents claims while protecting your investment during travel. Understanding preventive maintenance always reduces future repair costs.
Fortunately, small patches usually require localized repairs instead of complete wall replacement. However, extensive softness or mold often indicates deeper structural damage requiring professional attention.
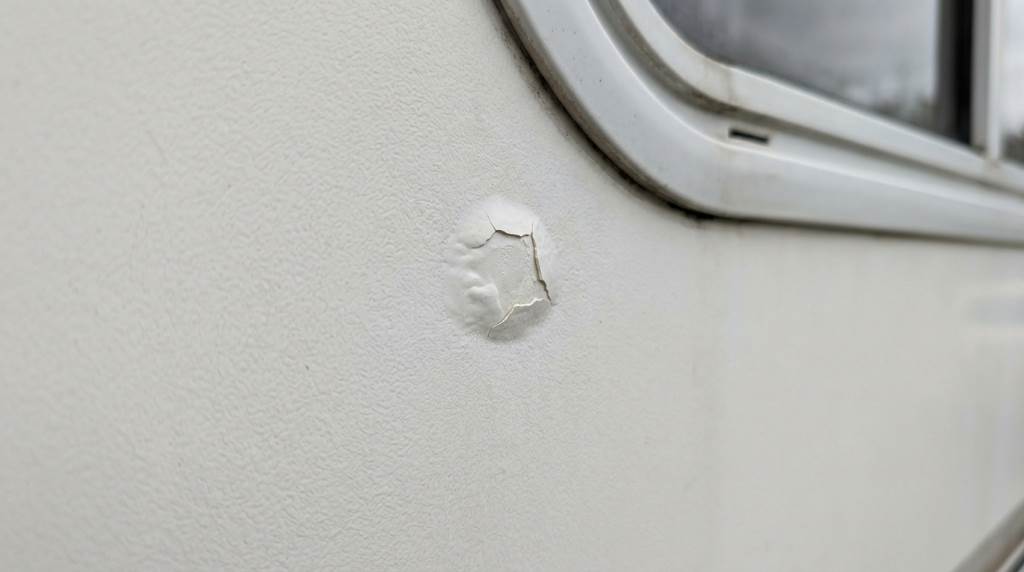
Identify Whether the Damage Is Suitable for DIY Repair
Carefully inspect the damaged section before purchasing repair materials. Press gently across the affected area to locate soft spots and loose fiberglass.
Small bubbles, slight separation, and limited moisture stains generally respond well to home repairs. Conversely, widespread movement across the wall suggests severe internal deterioration.
If you frequently travel, preventive maintenance becomes even more important. Helpful advice from full time RV living resources explains why regular inspections protect long term motorhome value.
Gather the Right Tools and Materials
Preparing every tool before starting creates a smoother repair process. It also prevents interruptions while adhesive begins curing.
- Moisture meter
- Utility knife
- Plastic putty knife
- Injection syringe
- Marine grade epoxy adhesive
- Fiberglass repair resin if needed
- Wood clamps or vacuum clamping system
- Protective gloves
- Safety glasses
- Painter’s tape
- Microfiber cloths
- Fine grit sandpaper
For broader maintenance planning, review this essential motorhome repairs resource because preventative care extends the lifespan of every exterior panel.
Inspect the Area for Moisture
Never inject adhesive into a damp wall because trapped moisture prevents proper bonding. Instead, verify moisture levels using an appropriate moisture meter.
If readings remain high, dry the affected area completely before continuing. Fans and gentle heat usually improve drying without damaging surrounding materials.
Signs Moisture Still Exists
- Dark wall discoloration
- Soft insulation
- Persistent musty smell
- Condensation beneath fiberglass
- Visible mold growth
Prepare the Surface Properly
Clean dirt, wax, grease, and oxidation from the repair location using approved fiberglass cleaners. A clean surface allows adhesives to create stronger bonds.
Next, remove loose debris around the separation without enlarging the damaged section. Gentle preparation minimizes unnecessary cosmetic damage during repairs.
Inject Adhesive Into the Delaminated Patch
Load marine grade epoxy into an injection syringe according to manufacturer instructions. Slowly inject adhesive across the separated area while maintaining even coverage.
Work gradually from the lowest section toward the highest point. This technique helps remove trapped air while spreading adhesive consistently.
Tips for Better Adhesive Distribution
- Inject small amounts each time.
- Avoid excessive pressure.
- Fill every separated pocket.
- Wipe excess adhesive immediately.
Clamp the Repair Securely
Even pressure creates a successful bond during curing. Place a smooth backing board over the repair before applying clamps.
Avoid excessive tightening because too much pressure forces adhesive outside the repair area. Balanced pressure delivers stronger long term adhesion.
Allow Proper Curing Time
Every adhesive has different curing requirements depending on temperature and humidity. Always follow manufacturer instructions instead of rushing the process.
Keep the motorhome stationary throughout curing. Movement may weaken the adhesive before complete bonding occurs.
Finish the Exterior Surface
After curing finishes, remove clamps carefully and inspect the repaired section. Sand lightly only where necessary to smooth uneven adhesive.
If cosmetic improvements remain necessary, apply matching fiberglass filler and exterior paint. Careful finishing restores a cleaner factory appearance.
Inspect Nearby Areas for Hidden Damage
Delamination often develops beyond the visible bubble because moisture travels inside wall cavities. Therefore, inspect neighboring sections carefully.
Pay close attention around roof seams, windows, clearance lights, vents, and corner moldings. These locations commonly allow water intrusion over time.
Prevent Future Exterior Delamination
Regular inspections greatly reduce expensive repairs throughout motorhome ownership. Seal small cracks immediately before water enters structural panels.
Create a maintenance schedule every season and after heavy storms. Consistent inspections protect your investment while improving travel confidence across the USA.
Best Prevention Practices
- Inspect roof seals every season.
- Reseal windows when needed.
- Wash exterior regularly.
- Repair chips immediately.
- Store the motorhome under cover whenever possible.
- Monitor wall moisture levels annually.
Common Mistakes to Avoid
Many owners accidentally repair symptoms instead of addressing moisture sources. Consequently, new bubbles often appear after several months.
- Ignoring moisture testing.
- Using household glue.
- Skipping surface cleaning.
- Applying uneven clamp pressure.
- Painting before complete curing.
- Ignoring nearby leaks.
When Professional Repair Becomes Necessary
Some damage extends beyond cosmetic fiberglass separation into structural framing. Professional inspection becomes the safest option under these conditions.
Seek expert assistance if walls remain soft after drying, insulation becomes saturated, or interior framing shows rot. Larger repairs require specialized equipment unavailable for most homeowners.
Conclusion
Learning how to repair motorhome exterior delamination small patches helps preserve your motorhome’s appearance, structural integrity, and resale value. By removing moisture, using quality materials, and following each repair step carefully, many minor delamination issues can be corrected before becoming expensive structural problems.
Inspect your motorhome regularly, repair small issues promptly, and maintain every seal throughout the year. Taking action today will help keep your motorhome ready for many safe adventures across the USA.
Frequently Asked Questions
Can I repair small motorhome delamination myself?
Yes, most small patches can be repaired successfully if no structural damage exists.
What causes exterior delamination?
Water intrusion that weakens adhesive bonds remains the primary cause.
Should I replace the entire wall for a small bubble?
No, localized repairs usually solve small isolated delamination patches.
How long does epoxy adhesive usually take to cure?
Most products cure within the manufacturer recommended timeframe based on temperature and humidity.
How can I prevent delamination from returning?
Inspect seals regularly, repair leaks quickly, and keep moisture away from wall structures.