Winter hits hard on recreational vehicles. Frozen pipes burst and cause costly repairs. You protect your RV by winterizing it properly, especially the water system with the demand pump at its heart. According to the Recreational Vehicle Industry Association (RVIA), over 11 million households own an RV in the US. Moreover, the National Oceanic and Atmospheric Administration (NOAA) reports that temperatures below 32°F can freeze water in hours. Follow this guide to keep your Keystone RV or any model safe through winter months.
Why Winterize Your RV Water System
Cold weather threatens your RV plumbing. Water expands when it freezes, cracking water lines, the hot water tank, and even the fresh tank. You avoid these issues by removing water or adding protection.
First, understand the risks. Frozen water in the water pump leads to failed seals. The pressure relief valve pops under ice pressure. Black and gray water tanks hold residual liquid that smells if not drained.
Next, consider benefits. Proper winterizing extends equipment life. It prevents emergencies in spring. Many owners in Rochester, NY, or Ontario, Canada, face harsh winters and rely on this process.
Additionally, you save time later. A mobile mechanic charges for de-winterizing fixes, but you handle it yourself. The process covers the city water inlet, low-point drain, and more.
Transitioning smoothly, gather tools early. This preparation makes everything easier.
Gather Essential Tools and Supplies
You need the right items before starting. Collect them to avoid interruptions during the winterizing process.
- Compressed air source, like an air compressor set to 30-50 PSI
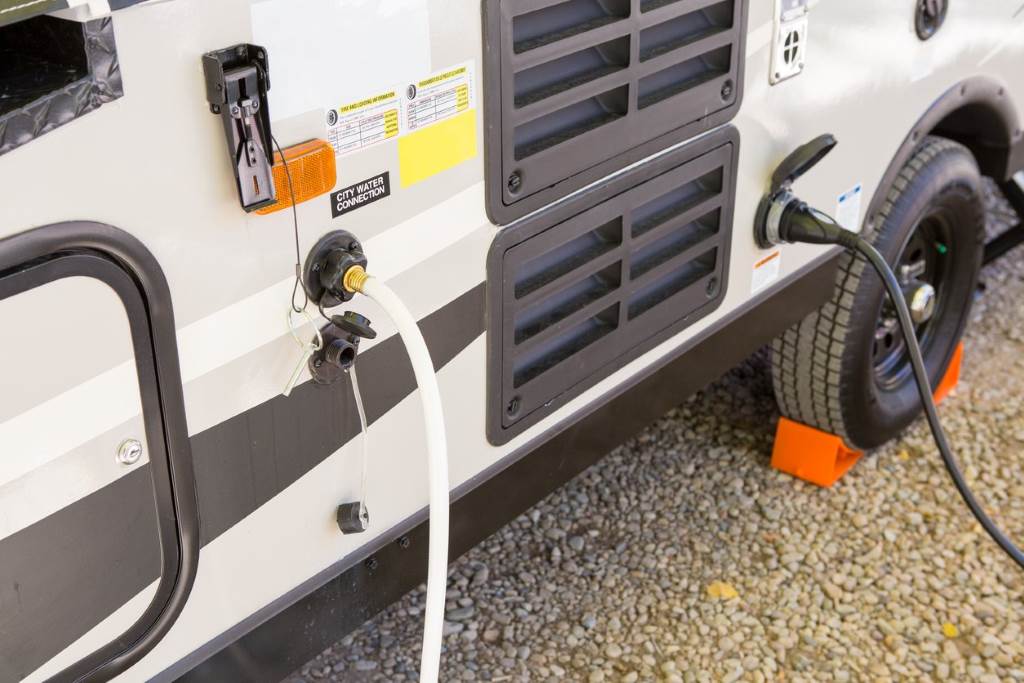
- Blow out plug or blowout plug adaptor for the city water connection
- RV/Marine-grade antifreeze, about 2-3 gallons for most systems
- Water pump conversion kit if switching methods
- Basic tools: wrench for drain plug, bucket for runoff
Furthermore, grab wheel chocks for safety. Stabilizing jacks keep the RV steady. A pressure gauge checks air levels accurately.
Also, include sewer hoses for tank draining. Moisture absorbent packets go inside for humidity control.
Now, park on level ground in a storage lot. Disconnect from city water intake. This setup ensures smooth progress.
With supplies ready, you move to draining tanks confidently, recalling the various motorhome types you’ve researched. Each type has its unique setup for holding tanks, making it crucial to follow the proper procedures.
From Class A motorhomes, which often have larger tanks, to Class B campervans with more compact systems, you ensure everything is in order before starting the process.
Drain All Tanks and Lines Completely
Start by emptying every reservoir. This step removes most water from the black tank, gray water tanks, and fresh water tank.
Open the black and grey tanks valves first. Flush through the black tank rinse opening or black water wash connection. Rinse until clear.
Then, drain the fresh tank via its valve. Locate low-point drain plugs for hot and cold lines. Remove them to release trapped liquid.
Moreover, open faucets. Turn on the shower head, hot and cold taps in sinks and bathroom. Run until no drip emerges.
After that, address the hot water tank. Turn off power or propane. Open its pressure relief valve. Remove the drain plug and let it empty fully.
Consequently, check for frozen water risks. In areas like camping season end, act before frost.
This draining prevents issues in black water tanks and water system overall.
Next, choose your method to clear remaining lines.
Choose Air Blowout or Antifreeze Method
You pick between two main ways to winterize RV with water pump. Each suits different needs, but both protect water lines effectively.
The air method uses compressed air. It blows out residual liquid without chemicals. Ideal if you store in mild winter months.
Alternatively, antifreeze fills the system. RV antifreeze safeguards against deep freezes. Use it in cold spots like Rochester, NY.
Compare pros. Air is quicker and cleaner. Antifreeze handles sub-zero better, per RV repair facilities advice.
However, combine if unsure. Blow out first, then add antifreeze for pumps.
Travelin’ Texans bloggers often share air success stories. Ole Mirada owners prefer antifreeze for reliability.
Whichever you select, follow steps precisely. This choice impacts the water pump inlet fitting and bypass valves.
Prepare the pump next for your chosen path.
Prepare the Water Pump for Winter
The demand pump needs special care. It sits central in the fresh water system and fails easily from ice.
First, locate the water pump. Bypass it using hot water bypass or bypass valve kit. Install bypass valves if missing.
Then, for air method, attach blow out plug to city water inlet. Set air compressor low to avoid damage.
For antifreeze, find winterizing port or water pump inlet fitting. Use a water pump conversion kit to suck antifreeze directly.
Additionally, remove water filter from city water connection. Drain its housing too.
Keystone RV manuals stress this step. Skip it, and pressure switch suffers.
Now, with pump ready, execute your method fully.
This preparation ties into draining low-point drain effectively.
Step-by-Step Air Blowout Process
You blow out lines systematically. This removes water from hot water lines, water system, and fresh tank remnants.
- Attach blowout plug adaptor to city water intake.
- Connect air compressor hose. Set to 30 PSI max.
- Turn on compressor. Open farthest faucet first, hot then cold.
- Cycle through all taps, including shower head and toilet.
- Flush black tank rinse if equipped.
- Blow low-point drain lines last.
Repeat cycles until no water sprays. Check pressure gauge often.
Moreover, listen for air only. This confirms clear hot water tank and water lines.
RV service centers recommend under 50 PSI to protect seals. Exceed, and pressure relief valve leaks.
After blowing, remove blow out plug. Cap openings.
This method works well post-draining black and gray water tanks.
Transition to pump specific blow if needed.
Protect Pump with Air Specifically
Focus air on the water pump now. Residual in pump housing freezes fast.
Attach compressor directly if possible. Otherwise, use city water connection pressure.
Run air through pump by turning it on briefly. Do this after bypassing with bypass valves.
Then, open water pump inlet fitting. Blow air in to clear strainer.
Furthermore, reinstall any removed parts. Like drain plug on hot water tank.
Mobile mechanic tips: Add a quick burst to demand pump lines.
This prevents issues in water pump conversion kit setups.
Owners in Ontario, Canada, swear by this for sub-zero protection.
With air done, inspect for moisture.
Air method complete, lines stay dry through storage.
Step-by-Step Antifreeze Method
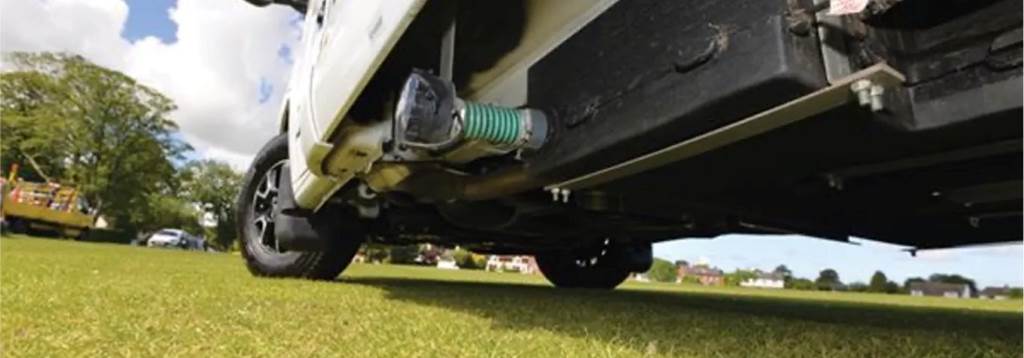
Switch to antifreeze for thorough protection. It coats water lines, water pump, and fresh water tank paths.
- Pour RV/Marine-grade antifreeze into a bucket.
- Connect hose to winterizing port or pump inlet.
- Turn on water pump. Open farthest cold faucet.
- Run until pink fluid flows steadily.
- Switch to hot, repeat for all taps.
- Flush toilet until antifreeze appears.
- Add to black tank rinse opening if needed.
Use 2-3 gallons typically. Watch color to confirm.
Additionally, pour some in drains for P-traps. This stops gray water tanks odors.
RV repair facilities note non-toxic antifreeze only. Avoid auto types.
After faucets, turn off pump. Disconnect setup.
This fills hot and cold taps lines fully.
Antifreeze safeguards better than air alone in extreme cold.
Add Antifreeze to Pump and Traps
Target the demand pump directly. Suck antifreeze through its system.
Use water pump conversion kit for easy intake. Submerge tube in jug.
Run pump until antifreeze exits all outlets. Include external shower if present.
Then, add to low-point drain plugs areas. Pour directly if open.
Moreover, fill traps in sinks and shower. One cup each prevents sewer gases.
Protective cover over city water inlet next. This blocks debris.
Keystone RV owners add extra to pressure switch housing.
This step ensures no frozen water in pump.
Complete, your water system resists winter.
Drain and Flush Waste Tanks Thoroughly
Waste systems need attention too. Black water tanks and gray water tanks hold liquids that freeze or stink.
Dump black tank first via sewer hoses. Rinse multiple times with black tank rinse.
Then, empty gray water tanks. Add cleaner if soapy residue remains.
Furthermore, open valves wide. Let gravity do work.
Use wand through toilet for deep clean in black and grey tanks.
RV/Marine-grade antifreeze in tanks optional but helpful in deep freeze.
Storage bins hold hoses clean afterward.
This ties back to overall winterize an RV goal.
Clean tanks mean fresh start in spring.
Protect Exterior and Accessories
Exterior parts suffer winter too. Secure them during storage.
Install air conditioner shroud cover. Reseal roof vents if needed.
Moreover, remove propane tanks. Store upright in ventilated area.
Place wheel chocks front and back. Lower stabilizing jacks slightly.
Add protective cover over entire RV. This shields from snow.
Furthermore, put moisture absorbent inside cabinets. Reduces mold.
Water filter removed earlier? Store dry.
City water connection capped tightly.
These steps complement water system protection.
Your recreational vehicle stays ready.
Final Checks and Storage Tips
Inspect everything one last time. Walk around your RV.
Confirm all drains closed: low-point drain, drain plug on hot water tank.
Check bypass valve kit engaged. Pump off and dry or filled.
Moreover, close roof vents. Lock compartments.
In storage lot, elevate tires if long-term. Use storage bins for gear.
Live chat with RV service centers for model specifics if unsure.
Winterizing process done right avoids spring surprises.
You now guard against frozen water fully.
Safe storage ensures enjoyable camping season return.
Common Mistakes to Avoid
Owners slip up often. Steer clear for best results.
Skip draining fresh tank fully. Leaves water in lines.
Over-pressure with air compressor. Damages pressure relief valve.
Use wrong antifreeze. Harms water pump seals.
Forget P-traps. Leads to odors from black and gray water tanks.
Moreover, ignore hot water bypass. Wastes antifreeze.
Not cycling all faucets. Misses shower head or external.
Travelin’ Texans warn against rushing.
Double-check low-point drain plugs.
Avoid these, and your water system thrives.
Professional results come from care.
Spring De-Winterizing Steps
Reverse the process come spring. Flush thoroughly.
For antifreeze: Run fresh water through all lines until clear.
Reinstall water filter at city water inlet.
Fill fresh water tank. Test water pump.
Open low-point drain to confirm flow.
Moreover, sanitize system with bleach solution.
Check black tank rinse opening for clogs.
Mobile mechanic can inspect if issues arise.
This prepares for camping season.
Your RV emerges ready.
In summary, winterize RV with water pump by draining tanks, choosing air or antifreeze, and protecting all parts. Follow steps for water lines, fresh tank, and waste systems. This prevents bursts and extends life.
Act now before first frost. Grab tools and start today for worry-free storage.
Do I need RV antifreeze if using air blowout?
Air clears most water, but add antifreeze in severe cold for extra safety in pumps and traps.
How much compressed air PSI for blow out plug?
Keep under 50 PSI. Use pressure gauge to monitor and protect seals.
Can I winterize without removing water filter?
Remove it always. Drain housing to avoid cracks from frozen water.
What if my RV has no winterizing port?
Use water pump conversion kit. It connects directly to pump inlet for antifreeze.
How to handle black and gray water tanks in winter?
Drain fully. Rinse black tank. Add antifreeze if storing in extreme freeze.
References:
- Recreational Vehicle Industry Association (RVIA) Ownership Stats: https://www.rvia.org/uniqid/rvia-shipment-statistics
- NOAA Freezing Temperatures Data: https://www.noaa.gov/jetstream/atmosphere/freezing
- Keystone RV Winterizing Guide: https://www.keystonerv.com/owners/manuals